
Switching to solar energy is a smart and sustainable decision. A rooftop solar system helps reduce electricity bills, lowers carbon footprint, and provides energy independence. However, the installation process can seem complicated. Here, we will explain each step to help homeowners and businesses understand how solar rooftop systems are installed.
Step 1: Site Assessment and Feasibility Study
An initial site assessment is necessary before installing a rooftop solar system. Many homeowners use online solar calculators or consult solar EPC (Engineering, Procurement, and Construction) service providers to estimate system size and savings. Mahindra Solarize, one of India’s leading solar EPC company, is a popular choice for such consultations. To schedule a consultation, homeowners are contact them directly on their toll free number.
A professional solar installer will evaluate:
- Roof Orientation and Tilt: South-facing roofs receive maximum sunlight in India, making them ideal for solar panels.
- Shading Issues: Trees, nearby buildings, or other obstructions can reduce energy generation.
- Structural Strength: The roof must be strong enough to support the weight of solar panels and mounting structures.
Step 2: Choosing the Right Solar System
There are different types of rooftop solar systems to choose from:
- A solar on-grid system is connected to the electricity grid and allows users to export excess power.
- An off-grid solar system works independently with battery storage, making it ideal for areas with an unreliable power supply.
- A hybrid solar system combines both, ensuring backup power with battery storage while remaining grid-connected.
Key components include:
- Solar module panels convert sunlight into electricity. Monocrystalline panels are more efficient, while polycrystalline panels are budget-friendly.
- A solar inverter (PV inverter) converts direct current (DC) from panels into alternating current (AC) for home use.
- Mounting structures secure the panels to the rooftop, ensuring durability and optimal tilt.
- Battery storage (optional) is used in off-grid or hybrid systems for energy backup.
Step 3: Applying for Government Subsidy
The Indian government provides financial support for rooftop solar installations under the Surya Ghar Yojana. Residential consumers can get subsidies of up to 40% for systems up to 3 kW and 20% for systems between 3-10 kW. To apply for subsidies, homeowners can register on the Government of India’s Rooftop Solar Portal. State DISCOMs (Distribution Companies) also approve feasibility studies before installation. Generally the EPC company assists the homeowners to submit their application.
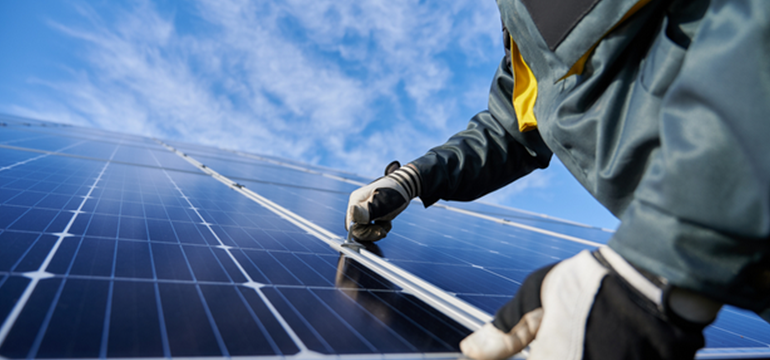
Step 4: Solar Installation Process
Once the feasibility is approved, the installation process begins, which includes:
- Engineering Design: Professionals design the system layout to optimise panel placement for maximum efficiency.
- Mounting Structure Setup: Structures are fixed on the rooftop to hold solar panels securely.
- Panel Installation: Solar module panels are carefully placed and connected.
- Wiring and Inverter Connection: Panels are linked to the PV inverter, which is then connected to the electrical system.
- Net Metering Setup: A bidirectional meter is installed by the DISCOM to track electricity import and export.
Step 5: Inspection and Grid Connection
After installation, the system is inspected by the local electricity board to ensure compliance with safety standards. Once approved, the system is connected to the grid, and homeowners can start generating their electricity.
Step 6: Solar Maintenance and Performance Monitoring
Regular maintenance is necessary for long-term performance. Most solar panels have a lifespan of 25 years, while inverters typically last 10-15 years. Key maintenance steps include:
- Cleaning panels every 2-3 months to remove dust and debris.
- Checking for loose connections and inverter efficiency.
- Monitoring energy generation using apps provided by solar inverter manufacturers.
Cost and Savings Estimates
The price of installing a rooftop solar system depends on its capacity. With net metering, users can significantly reduce their electricity bills, often recovering their investment in 4-6 years.
Installing a rooftop solar system is a great investment that provides financial and environmental benefits. By understanding the step-by-step process, homeowners and businesses can make informed decisions. Government subsidies, net metering, and professional EPC services simplify the installation journey, making solar power more accessible.
Financing Options
Installing rooftop solar panels in India is an effective way to reduce electricity costs and promote environmental sustainability. To facilitate this transition, several financial institutions are offer loans for solar system installations. Homeowners can obtain loans from banks and non-banking financial companies (NBFCs) specifically for solar panel installation. These loans typically cover 80-100% of the installation cost, with repayment tenures ranging from 3 to 7 years. Competitive interest rates and flexible EMI structures make solar loans an attractive option.
